
Connection Issues: Unable to connect to HTTPS Fax Server. [71.06]
This troubleshooting article provides instructions when the Lexmark has the Unable to connect to HTTPS Fax Server [71.06] error.
This article is only relevant when the Lexmark is set to etherFAX as its Fax Transport method.
Info, Notes and Warnings
Begin with Solution #1, this will check the network settings on the Lexmark itself.
Use Solution #2 if the Registered column for your device is blank:
Use Solution #3 if the Registered column for your device is not blank:
The HTTPS Fax Status should reveal details about the error.
If it is enumerated with a 4xx/5xx error, this suggests the Lexmark is reaching out to ETHERFAX.
If it is not, that would suggest that there are network issues preventing it from traversing to the ETHERFAX API.
Prerequisites
Before reading these instructions be sure that the following prerequisites are met:
Solution #1
Access to the Lexmark GUI via its IP Address.
Instructions: How to Determine your Lexmark MFD's IP Address.
Access to Fax and Network/Ports settings.
Solution #2 & 3
A Lexmark device with the Fax Transport method set to etherFAX:

More information on this can be found in Step 7 of the following knowledge article: How to Register your Lexmark MFD with ETHERFAX.
An ETHERFAX account.
An ETHERFAX portal user.
Solution #1
Check the network itself/network configuration.
Enter your Lexmark’s IP Address into a web browser.
Select Fax > Fax Setup:
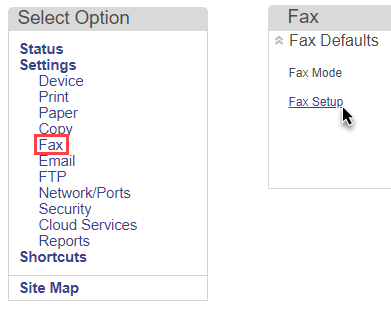
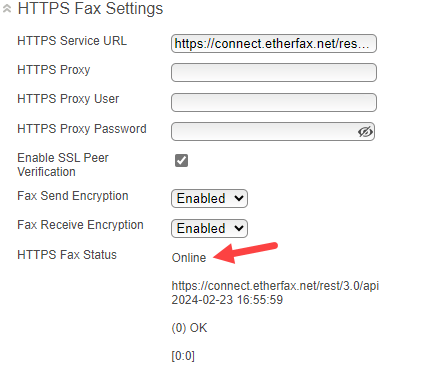
Expand the HTTPS Fax Settings. Make sure that the Fax Transport is set to etherFAX and that the HTTPS Service URL is set to https://connect.etherfax.net/rest/3.0/api.
If you are setting this up for the first time now, please save and restart the device.
Please be sure to make sure that https://connect.etherfax.net/rest/3.0/api can be visited from your network. If not, the Lexmark will not be able to successfully connect to ETHERFAX.
If these settings were already set, make note of the HTTPS Fax Status. Details in this section will provide more information about the error.
Select Network/Ports:
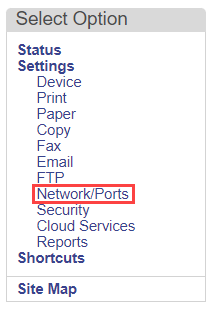
Depending on how the Lexmark is connected, select Wireless or Ethernet.
Confirm that the Wireless/Ethernet settings look correct.
For Wireless, this will include things like the Network Name, Wireless Security Mode and Set PreSharedKey.
For both Wireless and Ethernet, depending on what the Lexmark uses, the IPv4/IPv6 settings should be checked. If Enable DHCP is not toggled on, confirm that the Static IP Address values are good and are not conflicting with any other devices.
Confirm that the TCP/IP settings look correct.
Make sure the DNS Server Address and Backup DNS fields have no issues.
If using a private DNS, if permissible to your organization, it may be good to try a public DNS server as a test. This is especially true when there any issues resolving the host. If it is not permissible, confirm that the DNS server address is correct and behaving accordingly.
If issues continue, especially after doing the above and restarting where Solution #2 and #3 are not applicable—please reach out to ETHERFAX support with the error noted by the Lexmark in the HTTPS Fax Status.
Solution #2
Check if the device is enabled.
Sign into the ETHERFAX Client portal at https://clients.connect.etherfax.net.
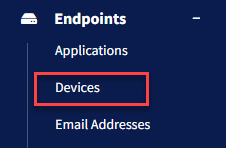
Go to Endpoints > Devices:

Look for your Lexmark among the listed devices. If there are issues determining which device you are to troubleshoot, go by serial number.
The following instructions will help if you cannot recall your serial number: How to Determine your Lexmark MFD's Serial Number.
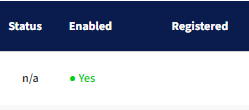
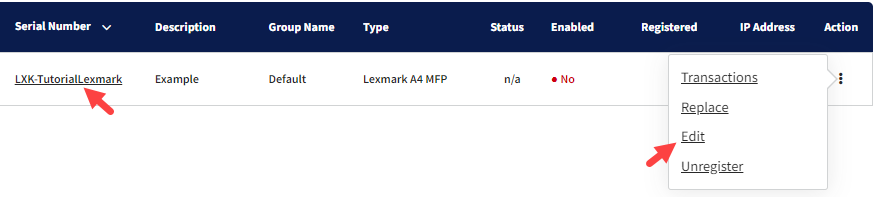
Click the serial number of the device to expand if needed. Check the Enabled column:
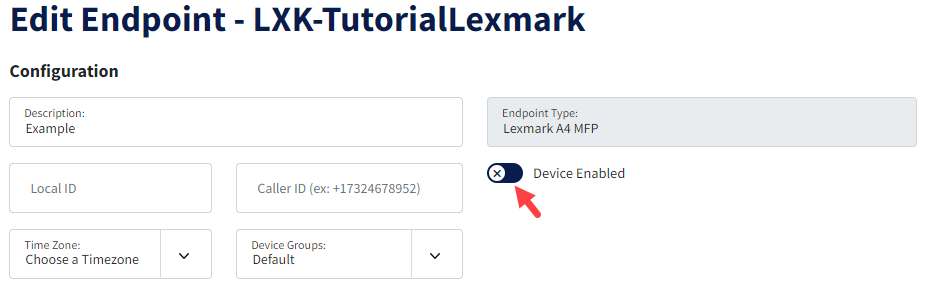
If it states No, then click the serial number of the device or click Edit under Action to enter the Edit Endpoint page:
Click the Device Enabled to toggle it on. Then click Save at the bottom-right corner of the page:
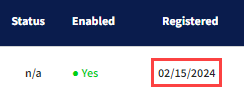
Within 5 minutes, the Registered column should populate the date:

If so, double-check to see if the error is no longer present:
If so, and the Status column also shows a recent time, your device should be connecting successfully!
If otherwise, continue to Solution #3.
Solution #3
Manually “unregister” the device.
Sign into the ETHERFAX Client portal at https://clients.connect.etherfax.net.
Go to Endpoints > Devices:
Look for your Lexmark among the devices. If there are issues determining which device you are to troubleshoot, go by serial number.
The following instructions will help if you cannot recall your serial number: How to Determine your Lexmark MFD's Serial Number.
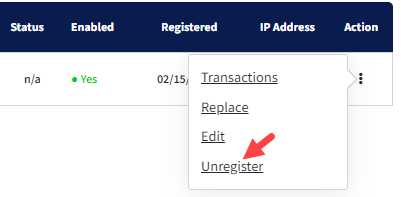
Click Unregister under Action to enter the Edit Endpoint page:
A prompt will come up to confirm that you wish to unregister the device. Click OK. The Registered column will now be blank.
Within 5 minutes, the Registered column should populate the date:

If so, double-check to see if the error is no longer present:
If so, and the Status column also shows a recent time, your device should be connecting successfully!
Ending Notes and Details
If there are still errors, be sure to double-check that your Serial Number in the ETHERFAX entry is free from clerical errors.
Should issues remain, contact ETHERFAX Support at support@etherfax.net.