
How to Port a Route to ETHERFAX
This tutorial provides instructions on how to port non-ETHERFAX routes into your ETHERFAX account.
Info, Notes and Warnings
For any questions, reach out to the ETHERFAX LNP team at lnp@etherfax.net.
Prerequisites
Before reading these instructions be sure that the following prerequisites are met:
An ETHERFAX account.
An ETHERFAX portal user.
The Global Administrator, or
one with the Edit Customer role/sufficient privileges.
Route(s) owned elsewhere to port.
Instructions
How to port a route to ETHERFAX
Sign into the ETHERFAX Client portal at https://clients.connect.etherfax.net.
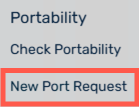
On the left-hand side, click Portability then select New Port Request:
Select the drop-down arrow and then choose the option that best fits your port request:
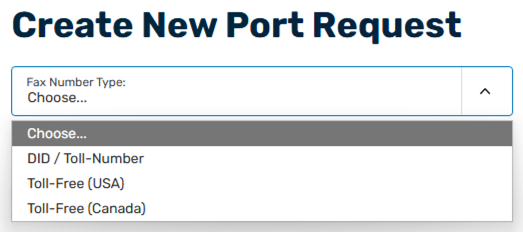
Depending on your option, your port request form will vary. Fill out the contents of the page as accurately as possible to prevent delays in porting over your route(s) to ETHERFAX.
Be sure to note any needed special accommodations in the Comments/Special Requests section.
Review all sections, making sure required information is accurate and that routes to be moved are correct. Once complete, sign your initials and then click Submit Request.
Congratulations, you have now successfully begun the porting process!
The ETHERFAX LNP team will work with the ticket submitter and the carrier of the fax number(s) to complete the port.
Ending Notes and Details
Please be mindful that ports can vary in length to complete.