
How to Assign/Unassign a Route to an Endpoint
This tutorial provides instructions on how to assign or unassign a fax number to an endpoint.
Info, Notes and Warnings
Fax numbers assigned to an endpoint associate received faxes to that Endpoint.
To remove this association on a completed fax, please follow the knowledge article here: How to Reassign or Unassign Faxes.
Once a fax number is unassigned from an Endpoint the faxes received at that number now becomes available for download via API, should an API connection occur at the account-level.
This opens the possibility for the API connection to pull down the faxes that have completed to the unassigned number.
Prerequisites
Before reading these instructions be sure that the following prerequisites are met:
An etherFAX account.
An etherFAX portal user.
The Global Administrator, or
one with the Edit Customer role.
An endpoint.
A route.
Instructions
How to assign a route to an endpoint
Sign into the etherFAX Client portal at https://clients.connect.etherfax.net.
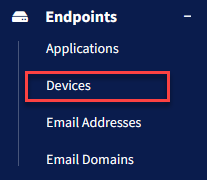
On the left-hand side select Endpoints, then Devices:
Click on the device you would like to edit by clicking its Serial Number or by clicking the vertical ellipses (⋮) in the Action column and then selecting Edit:

The Associated DID field will outline all fax numbers currently assigned to the device.
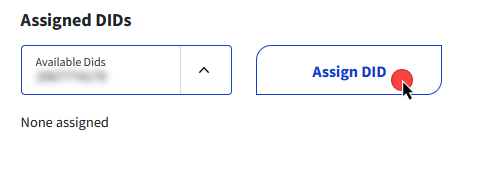
Under Assigned DIDs, you will find a drop-down with Available DIDs should any unassigned routes be available on your account. Make a selection on the route you wish to use.
Click Assign DID, then click Save in the bottom-right corner of the page:
You have now successfully assigned a route to your device!
How to unassign a fax number from your endpoint
Sign into the etherFAX Client portal at https://clients.connect.etherfax.net.
On the left-hand side select Endpoints, then Devices:
Click on the device you would like to edit by clicking its Serial Number or by clicking the vertical ellipses (⋮) in the Action column and then selecting Edit:

Under Assigned DIDs and DIDs Assigned to Endpoint, click on the trash icon next to the number you would like to remove:
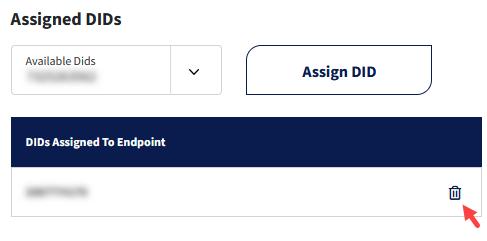
When complete, click Save in the bottom-right corner of the page.
You have now successfully removed a route from a device!
Ending Notes and Details
If it is preferred to busy out incoming faxes as opposed to removing the route where faxes may become stuck when completed with etherFAX, then the instructions at How to Enable/Disable a Route may be better suited for your needs.