
How to Set Up, Change, or Reset your Two-Factor Authentication (2FA)
This tutorial provides instructions on how to set up, change, or reset Two-Factor Authentication (2FA) for a portal user in the ETHERFAX Client portal.
Info, Notes and Warnings
Two-Factor Authentication is required upon first sign-in and is required in order to navigate the portal.
You can optionally set up a Fallback Number. This will allow you to change your 2FA when prompted should you no longer have access to your primary method of getting your 6-digit code.
This is only available when toggled and when the Google Authenticator method is selected.
Failure to set up Two-Factor Authentication will prevent navigation around the ETHERFAX portal until its completion.
Prerequisites
Before reading these instructions be sure that the following prerequisites are met:
An ETHERFAX account.
An ETHERFAX portal user.
A method to set up 2FA.
An 2FA application, or
Device key used for 2FA.
Instructions
How to set up two-factor authentication—first sign in
After having set up your portal user with its new password, sign into the ETHERFAX Client portal at https://clients.connect.etherfax.net.
You will be taken to the Manage Two-Factor Login page where you will be presented with two options: Authenticator App or Device for Two Factor:
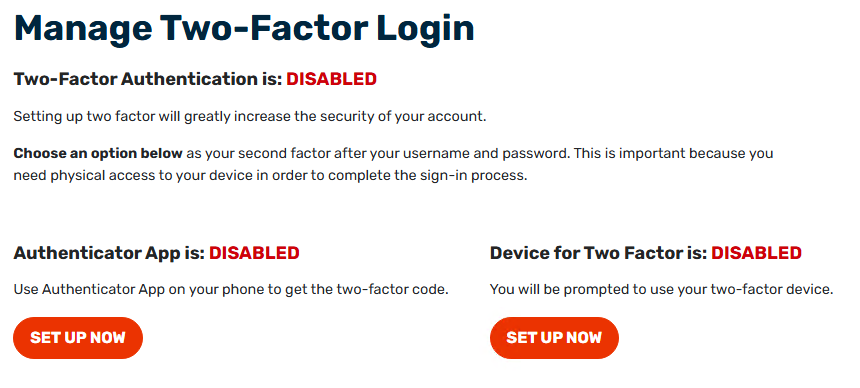
Always check with your company's security team on approved 2FA methods before implementation.
Follow the instructions on your selected option.
The Authenticator App method will prompt you to use the TOTP Secret Key for a 6-digit code whereas the Device for Two Factor method will prompt a physical device 2FA setup through the browser.
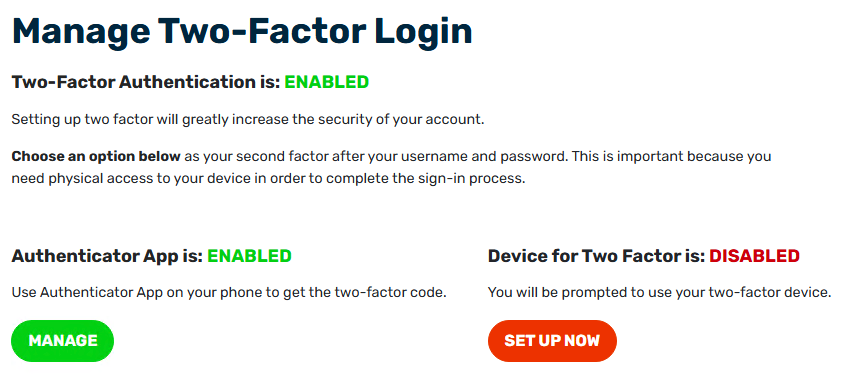
Once complete, your option will now show an option to Manage it.
You have now successfully established Two-Factor Authentication!
How to change your two-factor authentication—after having established 2FA previously
Sign into the ETHERFAX Client portal at https://clients.connect.etherfax.net.
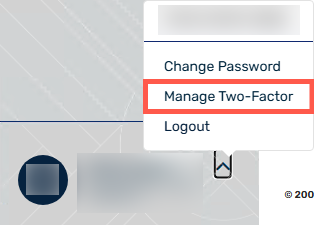
Once signed in, click on your arrow near your username in the bottom-left corner, and then click Manage Two-Factor:
Since Two-Factor Authentication was set up prior, one option will be Enabled while the other is Disabled.
Depending on the change you would like to make, you can click MANAGE to change details on that method or click Set Up Now to use the alternate method.
(Optional) Selecting Manage on the Authenticator App method allows you to set up a Backup Mobile Phone in case a reset is needed.

Re-scanning the QR Code and verifying once again will replace the previous 2FA that has been established for the one you have now just established. Adding a backup mobile phone number does not change the previous 2FA.
Choosing to change your 2FA method, follow the instructions on screen after clicking SET UP NOW on the alternate option.
You have now successfully changed your user’s two-factor authentication!
How to reset your two-factor authentication
This method requires the Fallback Number option to have been enabled when selecting the Authenticator App method.
Attempting to perform these steps while not having a Fallback Number saved will not be possible.
Sign into the ETHERFAX Client portal at https://clients.connect.etherfax.net.
If you don’t have access to the device you had used to set up two-factor authentication, then you will need to contact ETHERFAX Support (support@etherfax.net) with an authorized user for assistance.
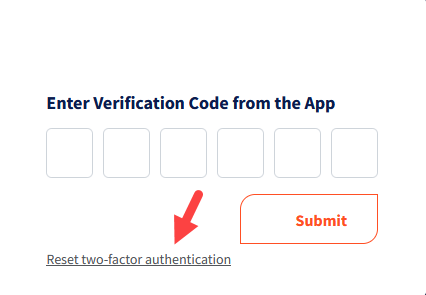
On the next screen, you will be prompted to enter your verification code. Click Reset two-factor authentication:
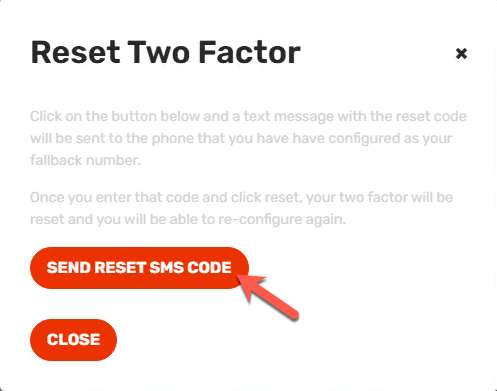
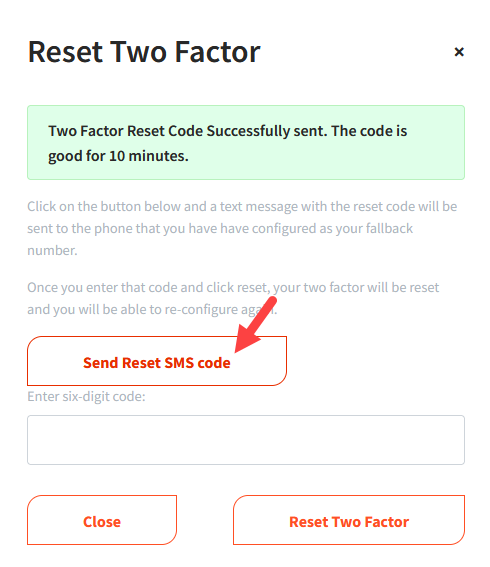
Click Send Reset SMS Code to initiate the reset code.
Enter the 6-digit code and then click Reset Two Factor.
If you accidentally click out of the Reset Two-Factor window, click the Reset Two-Factor button on the page. It will prompt the window to pop out once more asking for the six-digit code.
If you have input the correct code within the allotted 10 minutes, you will be taken to the Manage Two-Factor Login page.
Follow the instructions provided when selecting your option.
You have now successfully reset your two-factor authentication!
Ending Notes and Details
Previous 2FA setup allowed for SMS. This has been phased out in lieu of other methods.
In the How to reset your two-factor authentication steps—resetting Two-Factor Authentication without ETHERFAX assistance is only available to those who set up Two-Factor Authentication using an application.
Issues with two-factor authentication can be aided by ETHERFAX support.
Due to security concerns, only users that can be confirmed as having an affiliation with the account are authorized for assistance.