
How to Set Up Your Email Connector for Microsoft 365 for Specific Users
This article provides instructions on how to set up your Microsoft 365 email connector where only select users from your organization are allowed to email-to-fax through DirectFax Email Services.
Info, Notes and Warnings
Without setting up SPF/DKIM, as indicated below, your organization will not be able to use the DirectFax Email Services for outbound faxing.
etherFAX only accepts traffic from that of Microsoft, Google or Symantec for DirectFax email services. Failure to tailor existing email services around this will result in failures within the fax process.
Prerequisites
Before reading these instructions be sure that the following prerequisites are met:
A user with the Exchange Administrator role in order to configure these settings.
SPF (Sender Policy Framework) established as per Microsoft’s instructions here.
DKIM (DomainKeys Identified Mail) established as per Microsoft’s instructions here.
Instructions
How to set up your email connector
Visit the Microsoft 365 Exchange Admin Center at https://admin.exchange.microsoft.com.
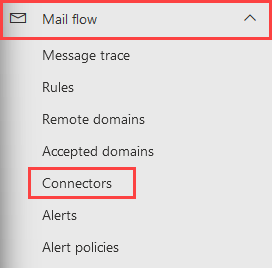
Visit Connectors under Mail flow:
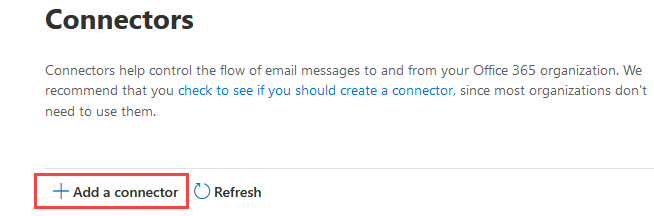
On the Connectors page, select + Add a connector where you will be taken to the wizard:
For Connection from select Office 365 and then select the Connection to option to Your organization’s email server and then click Next:
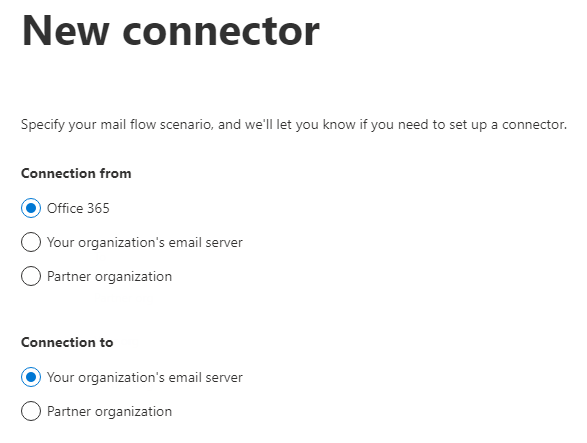
While selecting Your organization’s email server sounds misleading, this option allows us to set up filtering in the future.
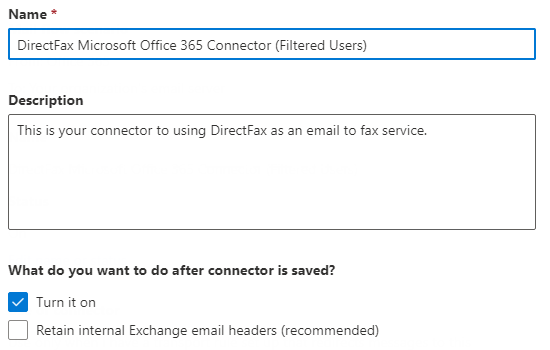
Give your Connector a name and description (this is optional but recommended). After doing so, leave the Turn it on checkbox on, while toggling off the Retain internal Exchange email headers (recommended) checkbox and then click Next:
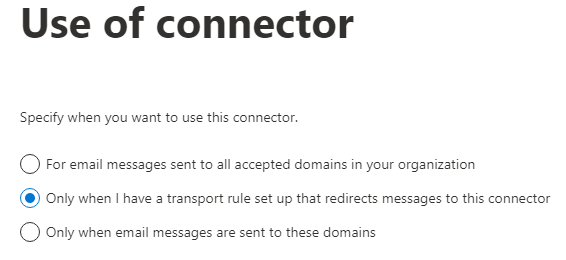
On the Use of connector page, select the middle option of Only when I have a transport rule set up that redirects messages to this connector and then click Next:
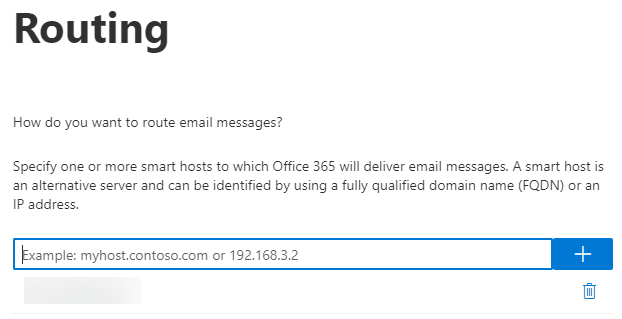
On the Routing page the value you need to enter, if not already attained, will need to be attained by etherFAX support. Once you have this value, click the + icon and click Next:
On the Security restrictions page, leave the default toggles/checkbox on and enter the same value gathered from etherFAX support in the previous step:

TLS is required in order to using email-to-fax with DirectFax.
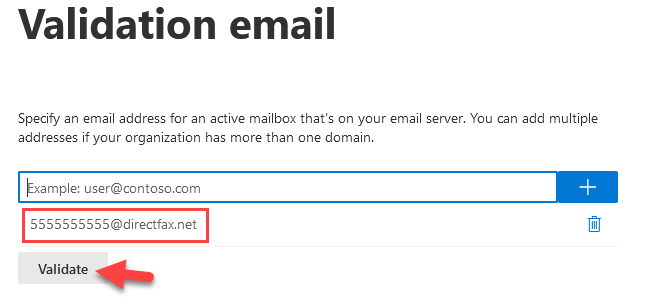
In the Validation email page, enter a bogus 10-digit number followed by @directfax.ca or @directfax.net.
For example, use a number such as 5555555555@directfax.net or 1231231234@directfax.ca.
This depends on where your organization’s tenant is set. Use @directfax.net if it is in the U.S., and @directfax.ca if it is set in Canada.
Click the + icon, then click Validate:
It will take a moment to validate, but once it is complete, you will view a similar screen to this:
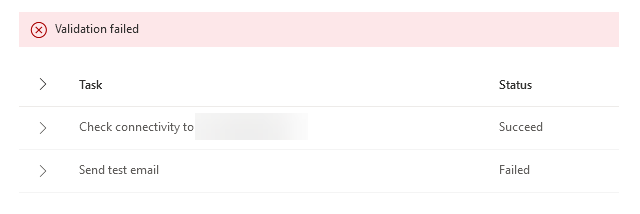
This is expected as this step is used to help set the 10-digit fax number @directfax.ca or @directfax.net format.
Once complete, click Next.
Before moving onto the next page, you will receive a prompt asking Do you really want to go without successful validation?, click Yes and then Next:

If everything on the review page looks correct, click Create connector and then Done.
How to create your member-oriented fax group
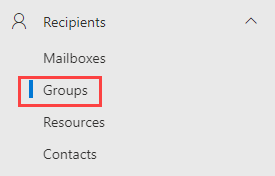
In the Exchange admin center (https://admin.exchange.microsoft.com) page, select Groups under Recipients:
Click Add a group:
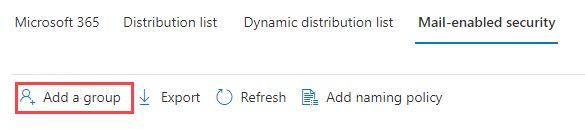
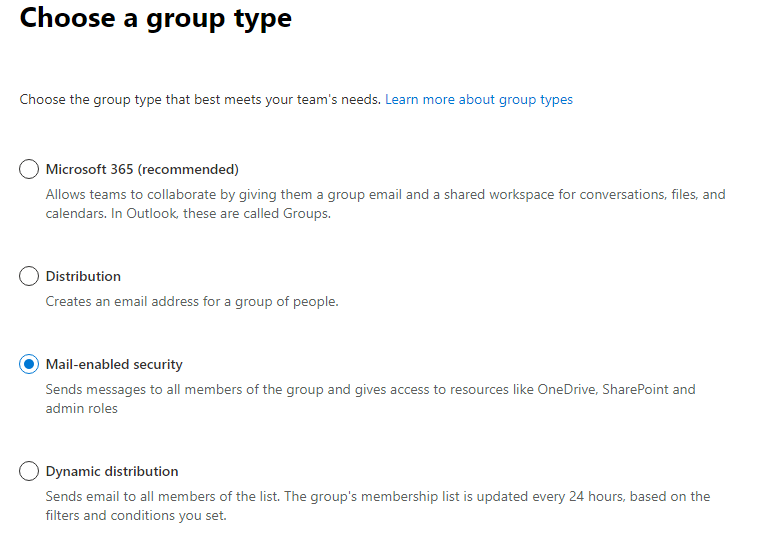
When choosing a group type, select Mail-enabled security and then click Next:
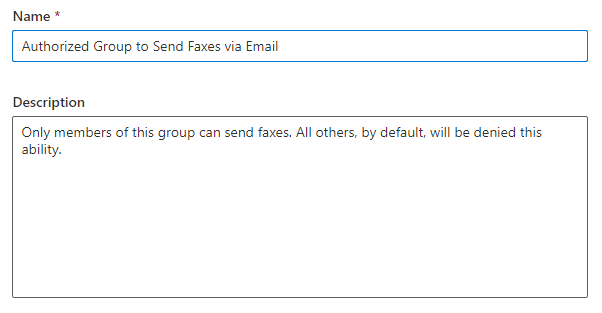
On the Set up the basics page, give the group a Name and a Description:
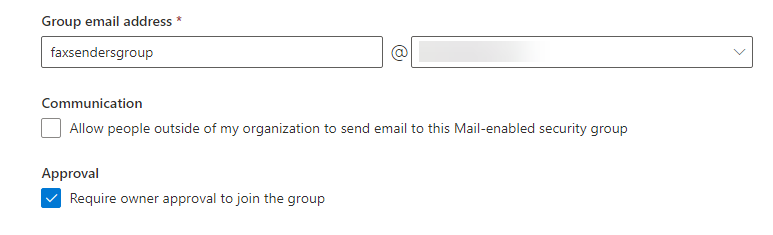
On the Edit settings page, create a unique email address under Group email address (adding an entry here will create a new email address and it must be a unique value).
It is recommended to use something easy to remember such as faxsendersgroup @ [your organization’s domain] (where your organization’s domain should be prepopulated).
Select Require owner approval to join the group under Approval. Leave the other option toggled off:
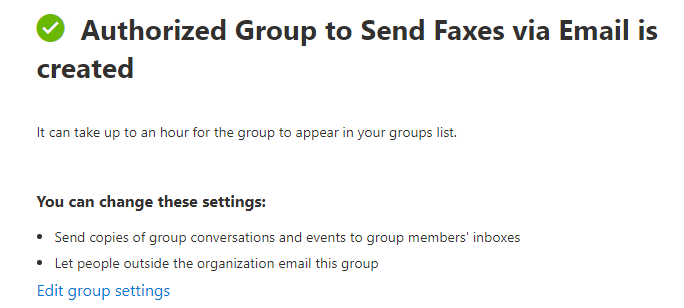
Click Next, then Create group and Close:
How to add members to your member-oriented fax group
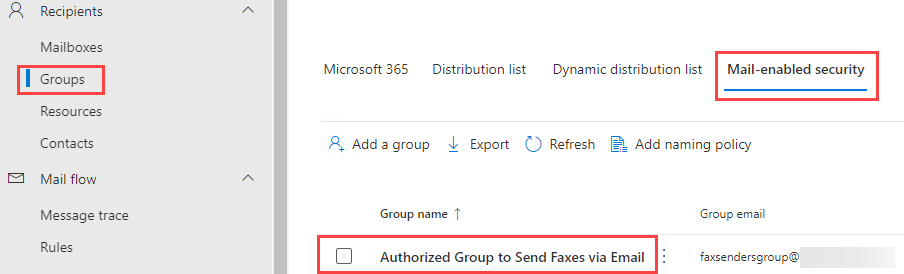
To add more users, simply go to Recipients > Groups > Mail-enabled security and click your group’s name where a pop-out will appear:
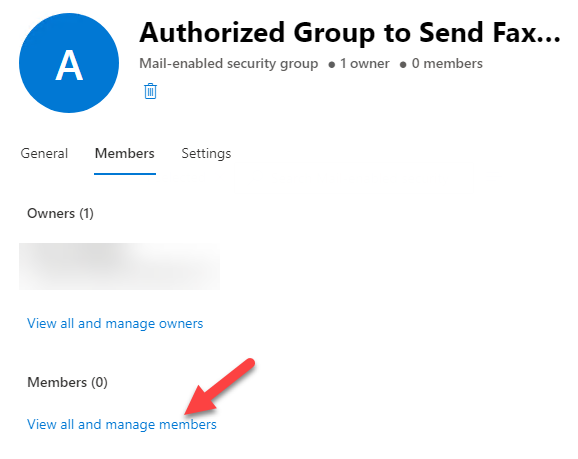
In the pop-out, select the Members tab and then click View all and manage members:
Click + Add members where you will be able to either search for members or by clicking the checkbox near any suggested members:

Once complete, click Add.
How to set up your filtering rule
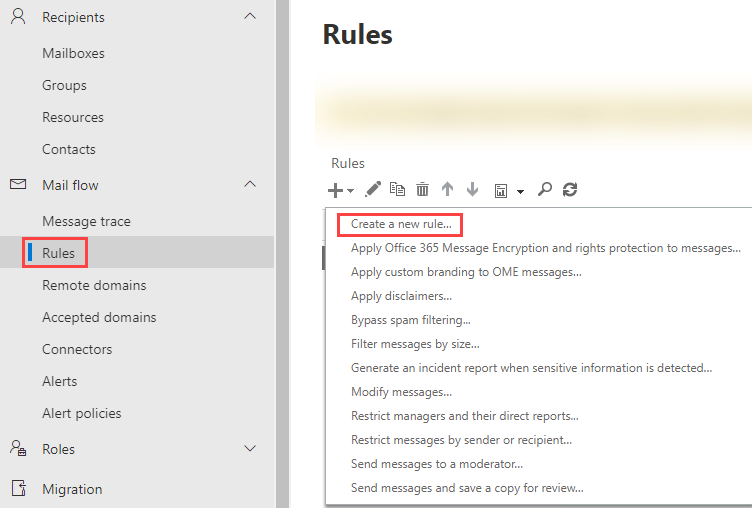
Visit Rules under Mail flow, then click + Rule followed by Create a new rule…
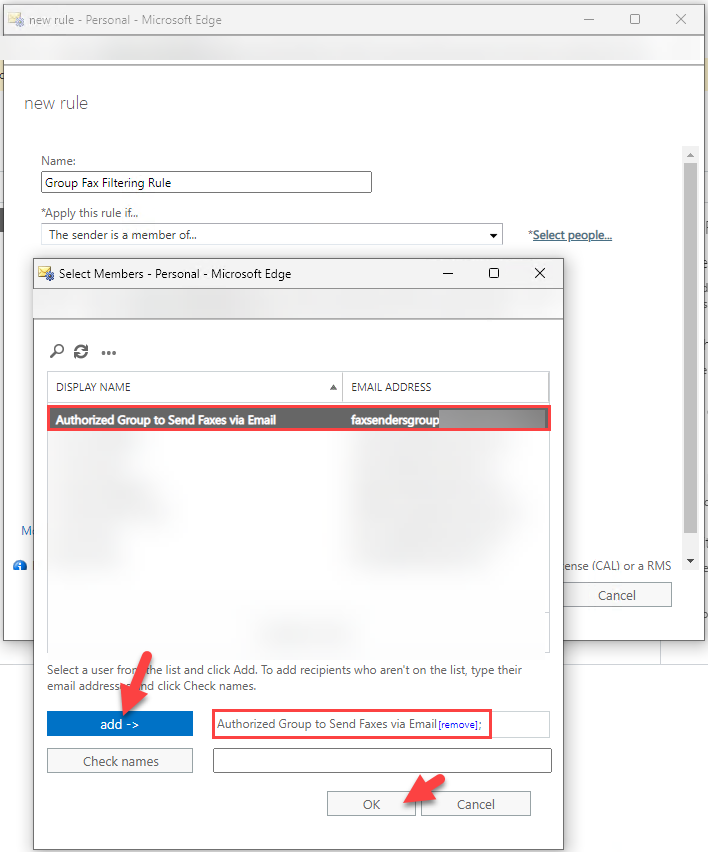
A new rule pop-up will appear. Give your rule a name, for example, Group Fax Filtering Rule.
Select More options… at the bottom of this pop-up, otherwise the options we need will not be present.
Under Apply this rule if… select the sender is a member of…. A pop-up titled Select Members will appear where you will choose your recently created group. Once chosen, click add → and then OK:
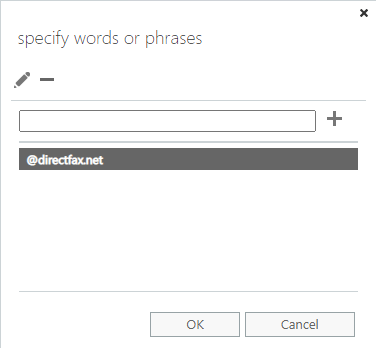
Click add condition and select the recipient… followed by address matches any of these text patterns.
On the specify words or phrases pop-up enter @directfax.net or @directfax.ca depending on what you have chosen on previous steps.
Click the + icon and then OK:
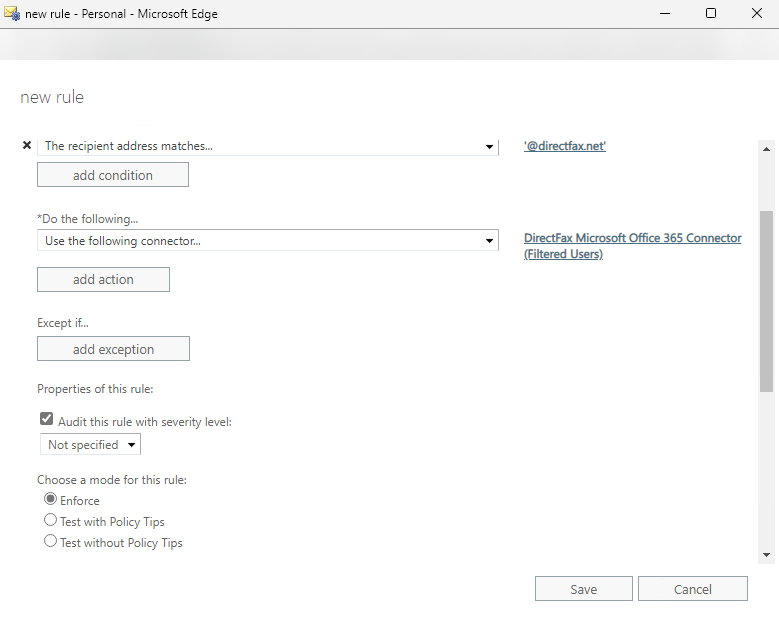
Under Do the following… select Redirect the message to… then select the following connector…. Once prompted, select the previously made connector for our fax group and then click OK:

Leave the other default settings as is and then click Save:
You will now be able to determine who can, and who cannot, fax within your Microsoft Office 365 tenant!
Ending Notes and Details
If you wish to let all users within your email domain fax via email, then the following knowledge article will assist: How to Set Up Your Email Connector for Microsoft Office 365.
To test this out—have two users, one with membership in the group and one without membership, attempt to send a fax using the instructions found in our How to Send a Fax via Email using DirectFax Email Services knowledge article.
Please make sure you have followed the previous instructions to setup your domain: How to Add your Email Domain for Outbound Email-to-Fax.
Without it, the traffic coming from this connector to ETHERFAX will be rejected.
Also, be sure that you have billing arrangements made as adding this service has its own cost.