
How to Set Up Your Email Connector for Microsoft Office 365
This article provides instructions on how to set up your Microsoft 365 email connector that is used for email-to-fax through DirectFax Email Services.
Info, Notes and Warnings
Without setting up SPF/DKIM, as indicated below, your organization will not be able to use the DirectFax Email Services for outbound faxing.
etherFAX only accepts traffic from that of Microsoft, Google or Symantec for DirectFax email services. Failure to tailor existing email services around this will result in failures within the fax process.
Prerequisites
Before reading these instructions be sure that the following prerequisites are met:
A user with the Exchange Administrator role in order to configure these settings.
SPF (Sender Policy Framework) established as per Microsoft’s instructions here.
DKIM (DomainKeys Identified Mail) established as per Microsoft’s instructions here.
Instructions
How to set up your email connector for Microsoft Office 365
Visit the Microsoft 365 Exchange Admin Center at https://admin.exchange.microsoft.com.
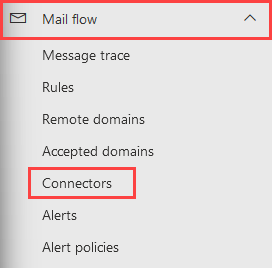
Visit Connectors under Mail flow:
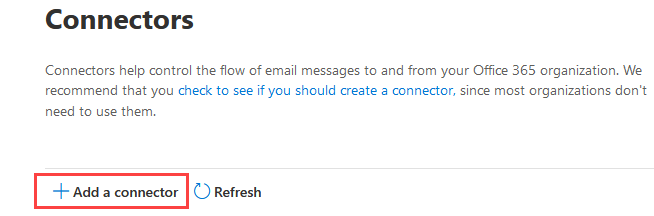
On the Connectors page, select + Add a connector where you will be taken to the wizard:
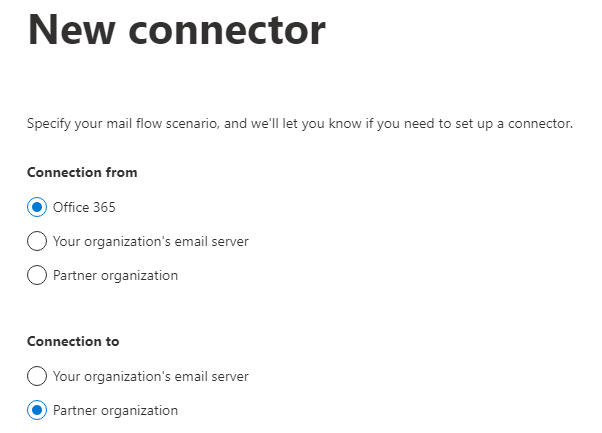
For Connection from select Office 365 and then select the Connection to option to Partner organization and then click Next:
Give your Connector a name and description (optional), after doing so leave the Turn it on checkbox on and then click Next:

On the next page, Use of connector, select Only when email messages are sent to these domains and specify the domain for your region:

If you are in the United States, enter directfax.net.
If you are in Canada, enter directfax.ca.
Once complete, click the + icon, then click Next.
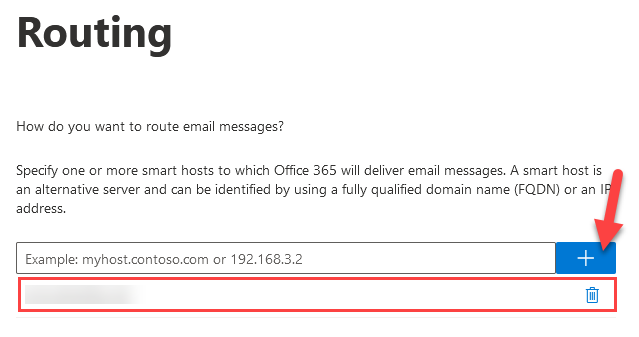
Under the Routing page, select the button for Route email through these smart hosts. Please contact etherFAX support for this value. Once you have that value, click the + icon and then click Next:
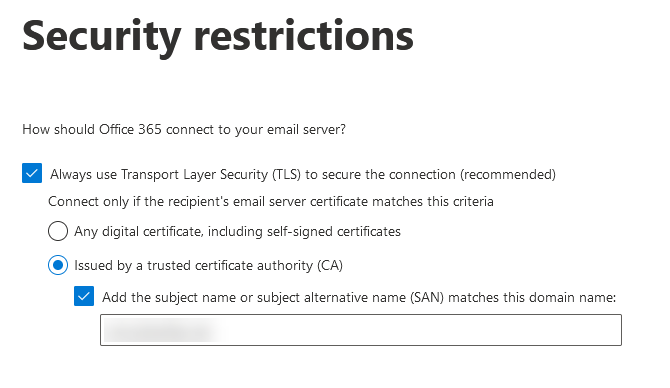
Under Security restrictions, keep the checkbox on Always use Transport Layer Security (TLS) to secure the connection (recommended) as TLS is a requirement to using email-to-fax with DirectFax. Keep Issued by a trusted certificate authority (CA) selected.
It is optional, but recommended, to select the checkbox to Add the subject name or subject alternative (SAN) matches this domain name option.
If you choose to do so, use the value that you used in the previous step (Step 8) in this field.
Once complete, click Next:
On the Validation email page, enter a bogus 10-digit number followed by @directfax.ca or @directfax.net depending on what matches with the connector information you have previously input, click the + icon and then click Validate:
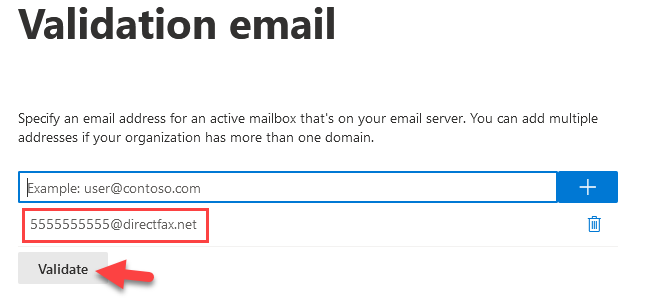
For example, use a number such as 5555555555@directfax.net or 1231231234@directfax.ca, aligning with the connector used in Step 6.
Please make sure that it is 10 digits. Failure to use a 10-digit number to validate will cause issues.
It will take a moment to validate, but once it is complete, you will view a similar screen to this:
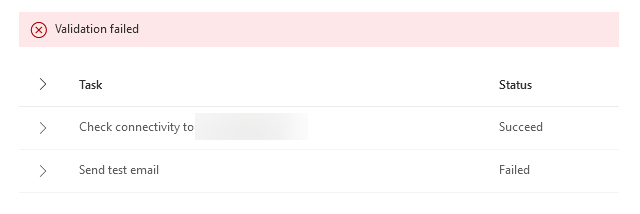
This is expected as this step is used to help set the 10-digit fax number @directfax.ca or @directfax.net format.
Once complete, click Next.
Before moving onto the next page, you will receive a prompt asking Do you really want to go without successful validation?, click Yes and then Next:

If everything on the review page looks correct, click Create connector and then Done.
You have just created the connector where all users within your tenant can email to fax!
Ending Notes and Details
Please make sure you have followed the previous instructions to setup your domain: How to Add your Email Domain for Outbound Email-to-Fax.
Without it, the traffic coming from this connector to ETHERFAX will be rejected.
Also, be sure that you have billing arrangements made as adding this service has its own cost.