
How to Install DirectFax Messenger for Slack
This tutorial provides instructions on how to install DirectFax for Slack.
This details two different methods to install the application—web browser or desktop client.
Info, Notes and Warnings
Due to group permissions within organizations, unless authorized, you may need an IT Administrator’s help when attempting this tutorial.
Prerequisites
Before reading these instructions be sure that the following prerequisites are met:
A Slack user.
Permissions to download 3rd-party applications.
Instructions
Download DirectFax Messenger—web browser method
In your preferred web browser, visit https://www.slack.com/apps.
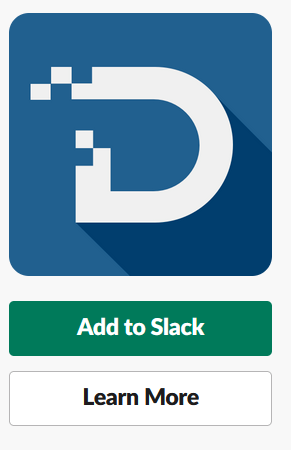
Then, still on the apps page, type “DirectFax Messenger” into the search bar and select it:

If you are not signed into Slack in your browser, select the Sign in to Install button.
Once signed in, click the button to Add to Slack:
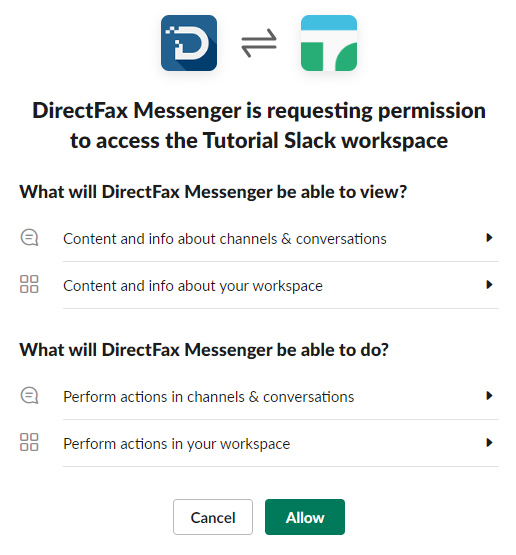
A permission page will appear. To proceed, click Allow:
If you are not taken to Slack thereafter, click the Open in Slack button:

Follow the prompt to use the desktop application or to continue in the web browser.
Thereafter, you will be taken to the DirectFax Messenger application:
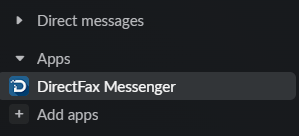
You have now installed DirectFax Messenger for Slack using the web browser method!
Download DirectFax Messenger—desktop client method
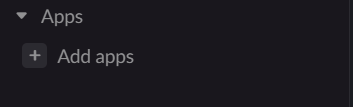
Open the Slack desktop client, then click Add apps on the left-hand navigation bar:
Search for DirectFax Messenger:
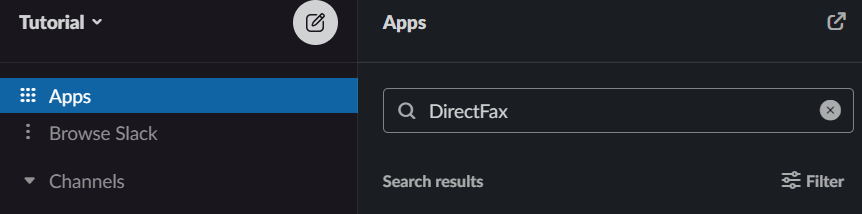
Click Add under DirectFax Messenger where you will be taken to the Slack App Directory in your web browser.
If you cannot find DirectFax Messenger, use the web browser method above.
From there, click Add to Slack:
On the next page, click Allow to confirm permissions for the DirectFax Messenger to access your workspace.
You have now installed DirectFax Messenger for Slack using the web browser method!
Ending Notes and Details
The process is not yet complete! Use the next set of instructions to register DirectFax Messenger to your etherFAX account depending on your need:
In some cases, the desktop client method may not show search results for DirectFax Messenger. Should that be the case, use the web browser method instead.