
How to Create and Add Fax Numbers to Route Groups
This tutorial provides instructions on how to create or and add fax numbers to Route Groups.
Info, Notes and Warnings
Unless Add-On Services are enabled on the account, this will not affect the routes affiliated with the Route Groups.
Prerequisites
Before reading these instructions be sure that the following prerequisites are met:
An etherFAX account.
An etherFAX portal user.
The Global Administrator, or
one with the Edit Customer role.
A route.
Instructions
How to create route groups
Sign into the etherFAX Client portal at https://clients.connect.etherfax.net.
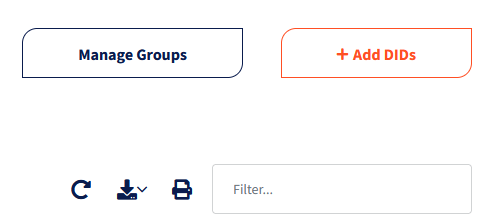
On the left-hand side of the navigation bar click Assigned DIDs:

In the upper-right corner of the page, click Manage Groups:
Click + Add Route Group in the upper-right corner of the page:
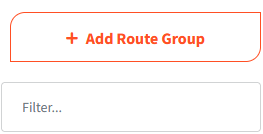
Give the Route Group a Group Name. Click Save.
You have now successfully created a Route Group!
How to add a route to a route group
Sign into the etherFAX Client portal at https://clients.connect.etherfax.net.
On the left-hand side of the navigation bar click Assigned DIDs:
Under the Route Group column, double-click the blank area relating to the number you would like added to the group:
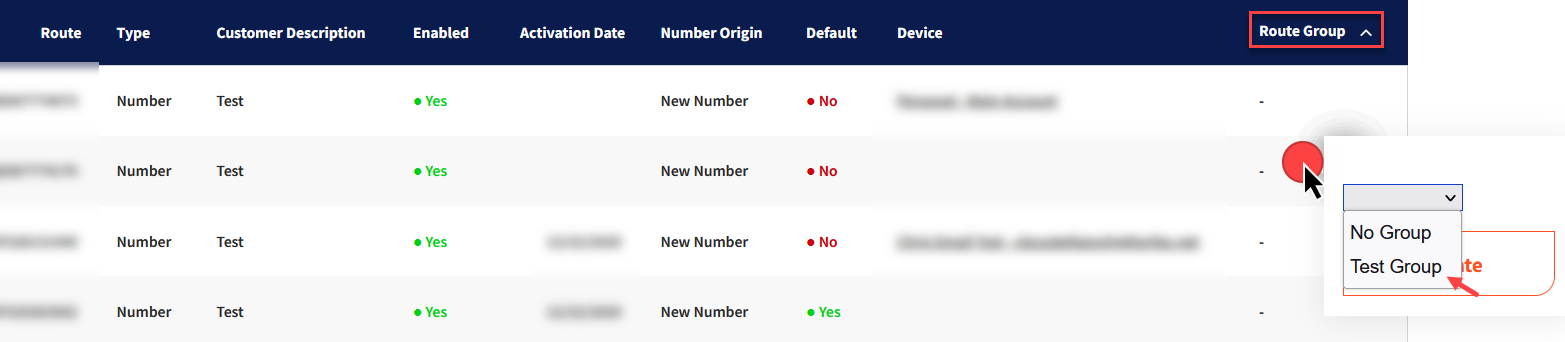
Select the group you would like to add the route. Click Update.
You have now added a route to a Route Group!
Ending Notes and Details
To learn more about Add-On Services, the following knowledge article will assist: How to Request Add-On Services.