
How to Install and Configure etherFAX for RightFax
This tutorial details how to install and configure etherFAX for RightFax.
Info, Notes and Warnings
Be sure to Run as administrator when using the etherFAX Configuration tool later in these steps. Failure to do so will cause issues in this setup.
Prerequisites
Before reading these instructions be sure that the following prerequisites are met:
RightFax installed on your computer/workstation or server.
.NET framework of 4.7.2 or higher.
An etherFAX account and access to the portal: https://clients.connect.etherfax.net.
Instructions
How to install etherFAX for RightFax
Type downloads.etherfax.net into your browser’s URL and click Enter.
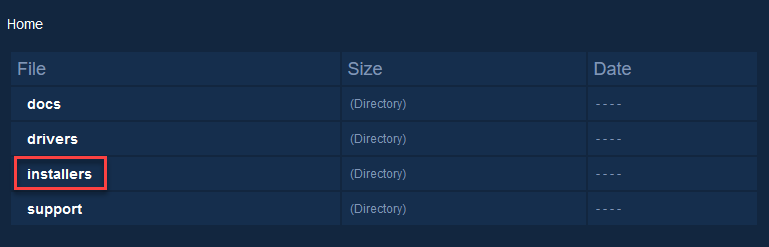
From there, select installers:
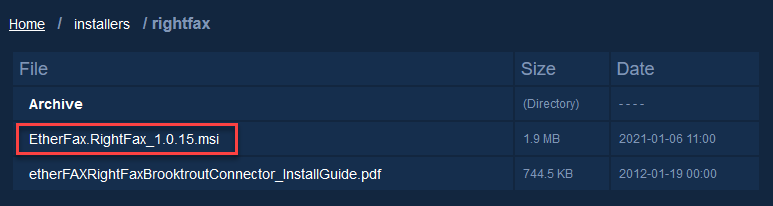
On this page select rightfax and click on the latest version of the .msi file to download it. In our example, the current filename/version shown here is Etherfax.RightFax 1.0.15.msi. Newer versions will work the same:
Click the .msi file to run the installer or run it directly from the browser.
The etherFAX Services for RightFax setup wizard will appear. From there, click Next.
If you would like to choose a folder, you can click Browse and select a location. Before you move to the next page, determine whether you would like other users to have access to this install or not. Once determined click Next:
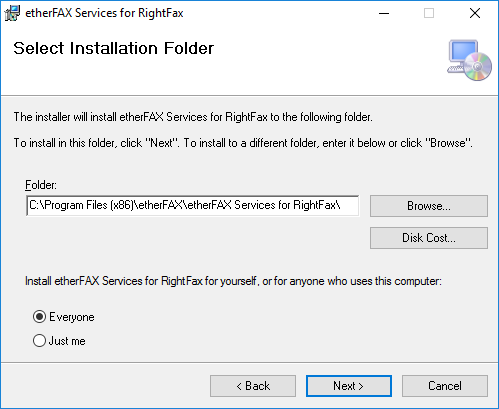
Note: You can click Disk Cost… to determine how much available storage you have on your drive(s) as well as the size of the install itself.
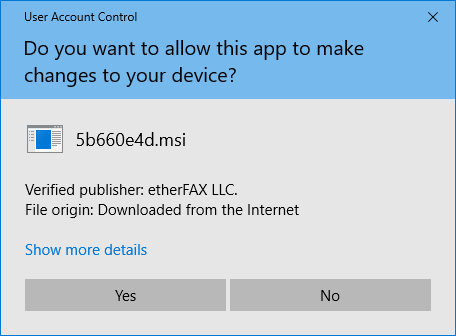
Click Next again and begin the installation. You may get a User Account Control box asking you to allow this app to make changes to your device. Click Yes:
When the installation is complete, click Close on the pop out to exit the Setup Wizard.
How to use the etherFAX Configuration Tool
Begin by right-clicking the software icon etherFAX Configuration Tool in the Recently added items in the Start menu and selecting Run as administrator:
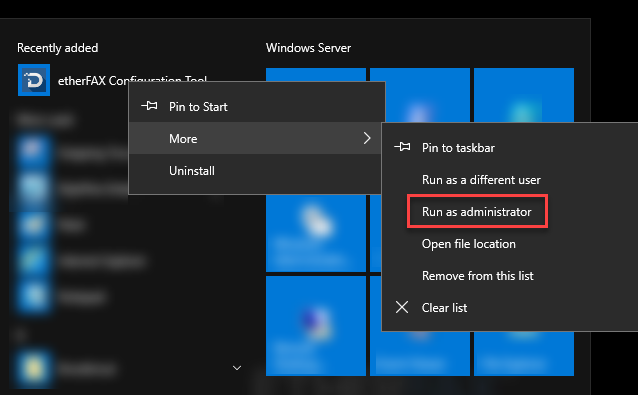
Note: If this is not on your desktop or Start menu, you can visit the default path C:\Program Files (x86)\etherFAX\etherFAX Services for RightFax and double-clicking efaxcfg.
Under the General tab, under Account Settings, choose the preferred sign-in method.
You can use your account credentials with your account’s username/password combination or use your API Key: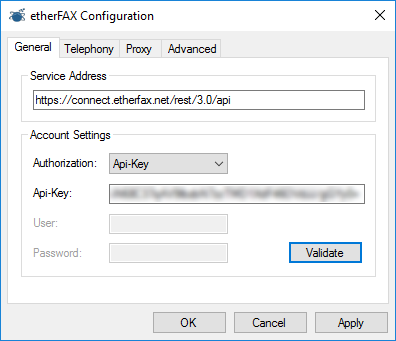
Note: To use your API Key visit https://clients.connect.etherfax.net, select Account in the SETTINGS navigation bar, click Show API Key and then copy/paste that information into the API-Key field of the efaxcfg tool.
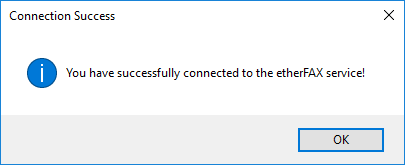
Click Validate to check that your information is accepted:
On the Telephony tab you can select the Caller ID you would like associated for all fax calls made from this site.
It is recommended to keep the default Dialogic SR140 option selected for Driver emulation mode as it is a more modern driver. If you’d like to emulate a traditional fax board, you can select the Brooktrout TR1034 option.
Note: Either option works fine as long as it matches with the Doc Transport section mentioned later.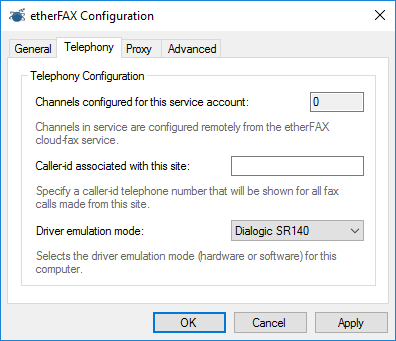
Note: You will have to click Apply and re-open the efaxcfg application to see an update on Channels configured for this service account. The number generated will reflect the amount of ports you have available when faxing outbound.
Select the Advanced tab and decide your Server instance mode.
Stand-alone is the most common and should be used when only one installation of etherFAX is established for the account.
Use the Active → Active option when another instance of etherFAX is installed and that instance is using the same credentials (API Key or Account credentials).
Click Apply and close the window.
How to configure RightFax Enterprise Fax Manager
Open RightFax Enterprise Fax Manager. You may get a User Account Control box asking you to allow this app to make changes to your device. Click Yes:
Click Services and then right-click RightFax Doc Transport Module and select Configure Service. From there, click Add Transport:

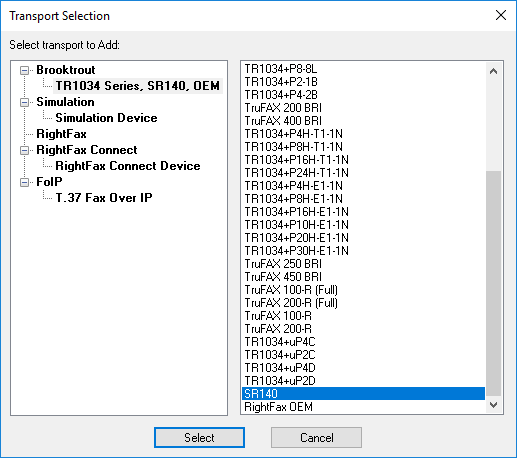
Click on TR1034 Series, SR140, OEM under Brooktrout. To keep this consistent with the Driver emulation mode we selected in Step 5 of “How to use the etherFAX Configuration Tool”, scroll down choose SR140 and press Select:
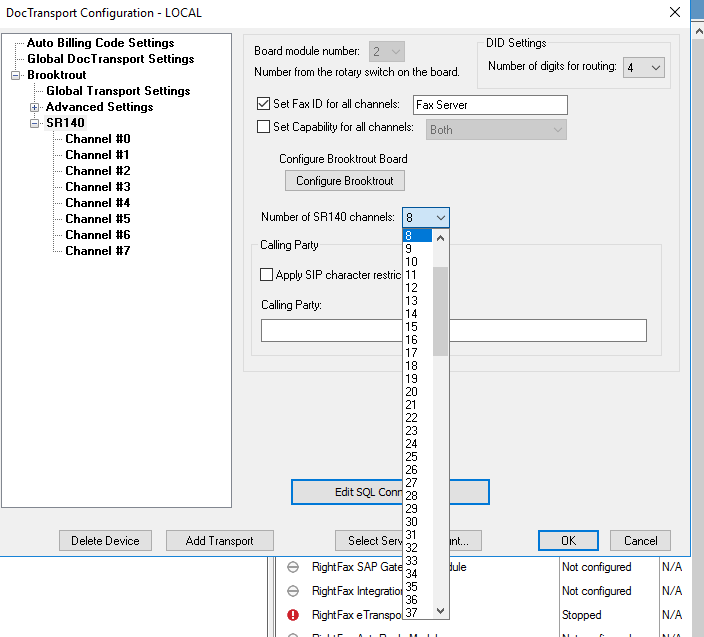
Here you can set the number of channels you are licensed for (if you have selected the SR140 option). This will be under the drop down arrow next to Number of SR140 channels:
Click OK on the DocTransport Configuration and select Yes to restart the RightFax DocTransport Module service.
You have now configured RightFax to work with etherFAX!
Ending Notes and Details
Failure to restart the RightFax DocTransport settings will prevent these changes from becoming active. If this was forgotten then visit the Services.msc tool to apply the restart on this service.