
How to Edit a Teams Instance on etherFAX
This tutorial provides instructions on how to edit a 1:1 or Teams Channel instance on etherFAX.
Info, Notes and Warnings
There are two methods to edit a Teams Instance. There are separate instructions below for each method.
Please be mindful of the changes made here as this gives the ability to change the Caller ID, fax number assignment, and the device’s “Enabled” status.
Prerequisites
Before reading these instructions be sure that the following prerequisites are met:
An etherFAX account.
An etherFAX portal user: A Global Administrator or user with Edit Customer privileges.
A Teams Channel Instance or a 1:1 Instance to edit.
The “Edit on etherFAX” instructions require the registering user.
Instructions
How to edit a Teams instance on the etherFAX Client portal
Sign into the etherFAX Client portal at https://clients.connect.etherfax.net.
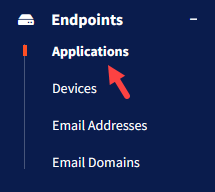
On the left-hand side select Endpoints and then Applications:
From there, locate the DirectFax instance you would like to edit by clicking on the Unique ID (Serial Number) or by clicking the vertical ellipses in the Action column (⋮) and then clicking Edit.
Edit the Caller ID, assign/unassign fax numbers as needed, and so on. Click Save to finalize these changes.
You have now successfully edited your Teams Instance!
How to edit a Teams instance using the “Edit on etherFAX” button
Sign into the etherFAX Client portal at https://clients.connect.etherfax.net.
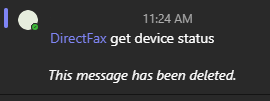
On the Teams instance you are trying to edit, perform a get device status.
For Teams Channel instances, lead with an @Directfax in order to tag the DirectFax application when using this command.You will see a message stating, “This message has been deleted.”
If you did not register the Teams Channel instance, then you will not be able to edit the endpoint using the Edit on etherFAX button.
You will instead be returned an error stating “No registered device has been found” when performing this step.
Use the first set of instructions below if you encounter this issue.
Further below, you will see a card from the DirectFax application giving you details about your instance:
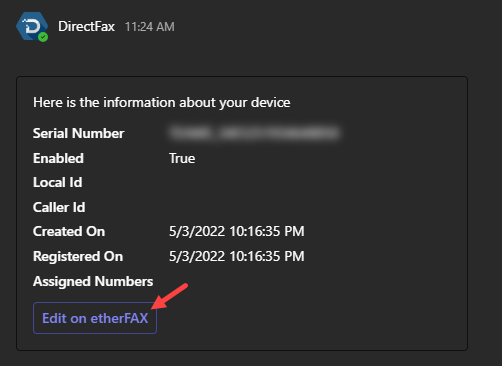
Click the Edit on etherFAX button.
You will not be taken to the endpoint unless you are signed in as with Step 1 or if your session had automatically closed due to inactivity. Sign in and repeat Step 5 to retry, if needed.
If successful, you will now be taken to the very same endpoint’s edit page. Edit the Caller ID, assign/unassign fax numbers as needed, and so on:
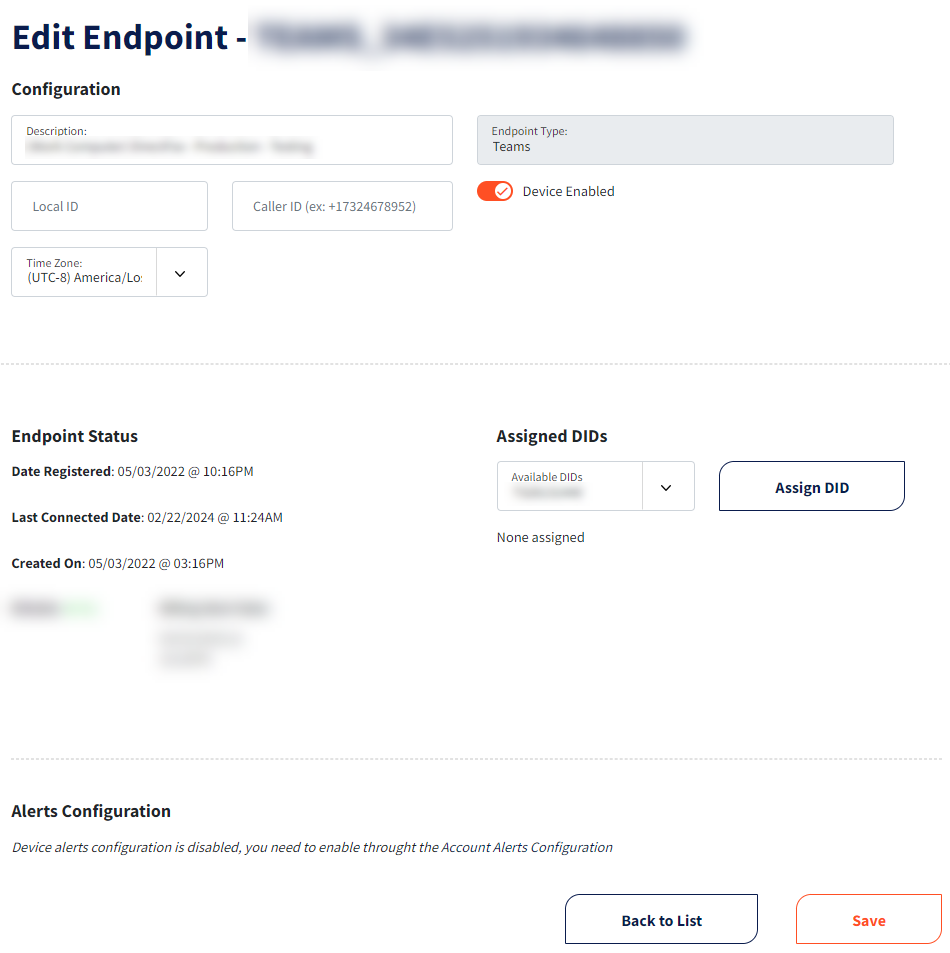
Click Save in the bottom-right corner to commit to the changes.
You have now successfully edited your Teams Instance!
Ending Notes and Details
To determine who the registering user is in a Teams channel instance, you will want to search for the user that passed along the register device command successfully in the channel.
The Registered date in the Endpoints > Applications section will also reveal the date of registration. Returning to that date may help locate the user that passed along that command.
Make sure that Device Enabled is toggled on otherwise your instance will be denied from connecting to etherFAX.