
How to Assign a Route to a DirectFax Instance
This tutorial provides instructions on how to assign a route from your etherFAX account to a DirectFax instance.
Info, Notes and Warnings
There is a limit to the number of routes you can assign to an endpoint.
Please reach out to your etherFAX Account Manager if you are assigning more than 2 routes to an endpoint.
Prerequisites
Before reading these instructions be sure that the following prerequisites are met:
A route.
A registered 1:1 Instance or Teams Channel Instance.
Instructions
How to assign a route to a DirectFax instance
Sign into the etherFAX Client portal at https://clients.connect.etherfax.net.
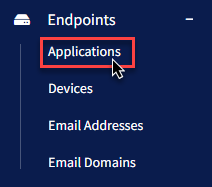
On the left-hand side select Endpoints and then Applications:
From there, locate the DirectFax instance you would like to pair the route.
Click on the Unique ID (Serial Number) or the vertical ellipses (⋮) in the Action column and then clicking Edit:

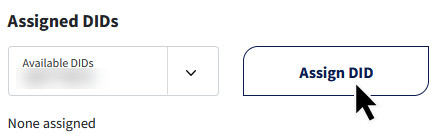
Under Assigned DIDs, you will find the list of available routes to assign to your instance. Select the route you wish to have paired and then click Assign DID:
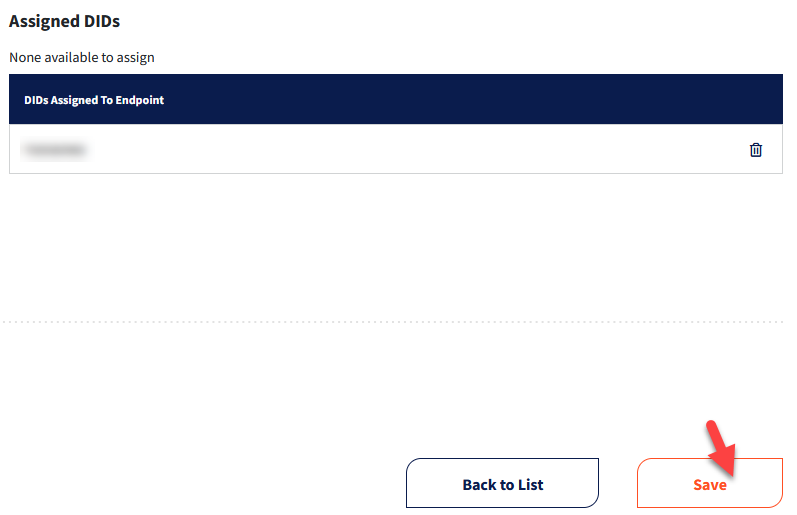
Click Save in the bottom-right corner of the page:
You have now successfully paired a route to your DirectFax instance.
Ending Notes and Details
Test this out by sending a fax to the route!
Make sure to click Save, otherwise the route will not be paired.