
How to Send a Fax
This tutorial provides instructions on how to send a fax with DirectFax Messenger for Slack.
Info, Notes and Warnings
A “registering user” refers to the user that registered DirectFax in this particular instance.
To avoid confusion, it is advisable that Slack Channel Instances are kept as inbound-only whereas 1:1 Instances are used for both inbound and outbound faxes.
Prerequisites
Before reading these instructions be sure that the following prerequisites are met:
A registered 1:1 Instance or Slack Channel Instance.
The registering user.
Instructions
How to send a fax
Locate the DirectFax Messenger app in your 1:1 Instance or access a Slack Channel Instance as the registering user.
Within the message field, add an attachment by clicking the + icon and then selecting Upload from your computer:
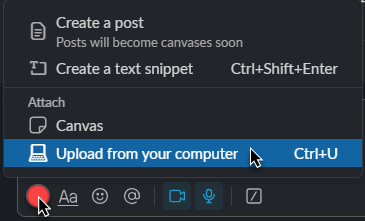
Acceptable attachment file types include .PDF, .TIFF, .JPEG, .PNG, .BMP, .DOC/.DOCX.
Repeat with additional documents as needed. Once ready, click Enter.
Hover above the message where the More actions option becomes available. Select it:
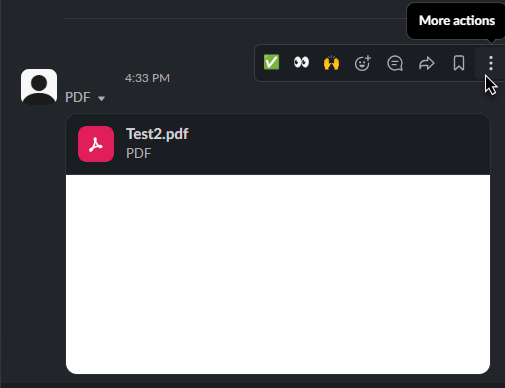
From there, select the option to Send as Fax:

A pop-up will appear. Input the Recipient Fax Number:
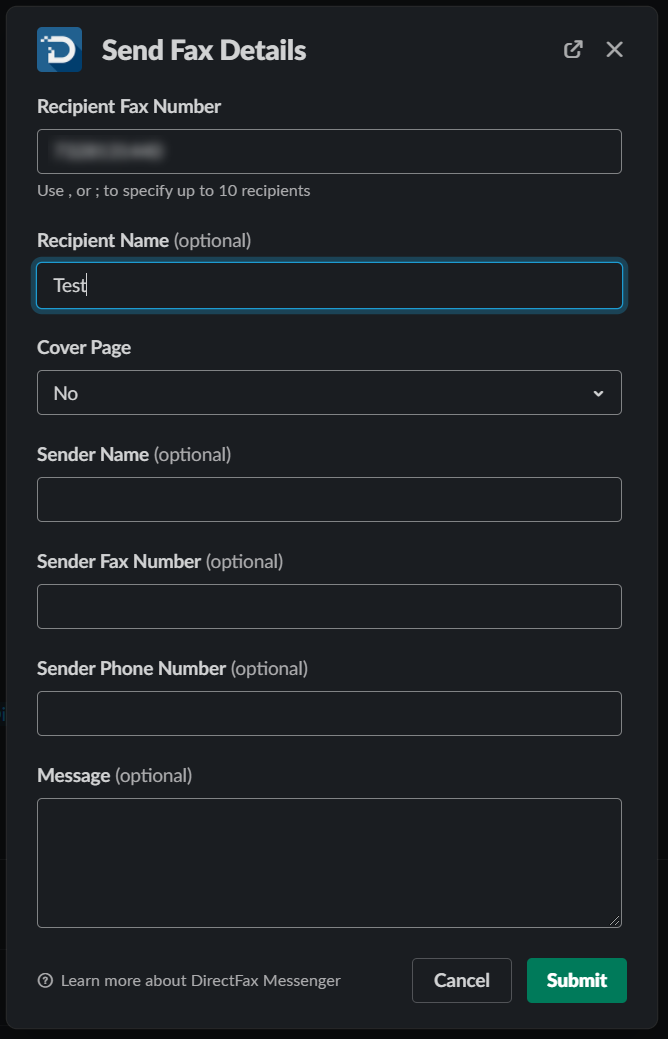
If you wish to utilize the Sender Name, Sender Fax Number, etc., be sure to select Yes on Cover Page which prepends a cover page to your fax with that information.
Click Submit.
Once the fax is complete, a fax status message will be posted:
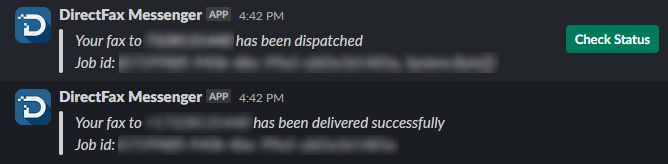
You have now successfully sent a fax!
Ending Notes and Details
DirectFax Messenger will automatically relay the fax status, however, you can always prompt a check by clicking the Check Status button on the submitted fax.