
How to Assign a Route to a DirectFax Messenger Instance for Slack
This tutorial provides instructions on how to assign a route from your etherFAX account to a DirectFax Messenger instance for Slack.
Info, Notes and Warnings
There is a limit to the number of routes you can assign to an endpoint.
Please reach out to your etherFAX Account Manager or etherFAX Partner managing your account if you wish to assign more than 2 routes to an endpoint.
Prerequisites
Before reading these instructions be sure that the following prerequisites are met:
A route.
An etherFAX portal user.
The Global Administrator, or
one with the Edit Customer role.
A registered 1:1 Instance or Slack Channel Instance.
Instructions
How to assign a route to a DirectFax Messenger instance for Slack
Sign into the etherFAX Client portal at https://clients.connect.etherfax.net.
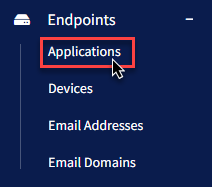
On the left-hand side select Endpoints and then Applications:
From there, locate the DirectFax instance you would like to pair the route to.
Click on the Unique ID (Serial Number) or the vertical ellipses (⋮) in the Action column and then clicking Edit:

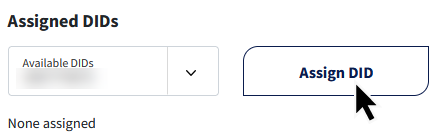
Under Assigned DIDs, you will find the list of available routes to assign to your instance. Select the route you wish to have paired and then click Assign DID:
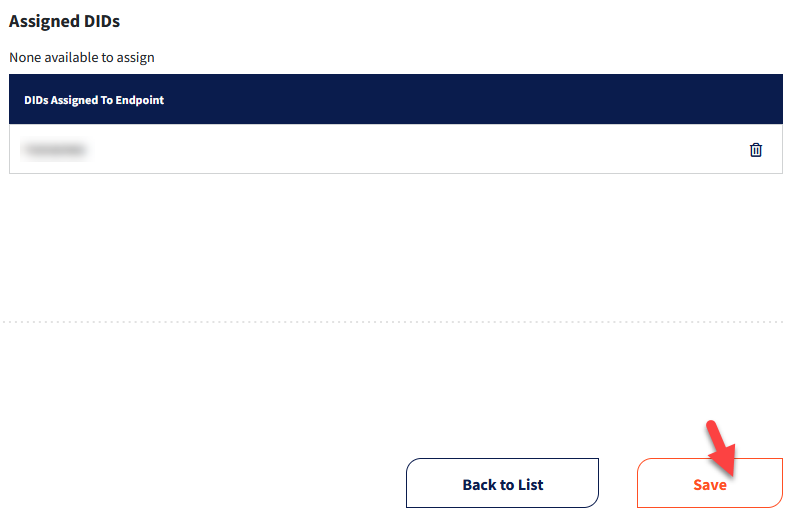
Click Save in the bottom-right corner of the page:
You have now successfully paired a route to your DirectFax Messenger instance.
Ending Notes and Details
Test this out by sending a fax to the route!
Make sure to click Save, otherwise the route will not be paired.