
How to Set a Default Route for your etherFAX Account
This tutorial provides instructions on how to set a default route on your etherFAX account. This sets the default Caller ID to be used when one is not provided within the outbound fax submission.
Info, Notes and Warnings
This affects the entirety of the etherFAX account where this is applied.
When a default route is placed, whenever a Caller ID is not provided to etherFAX on an outbound submission, the default route enabled will be used as the Caller ID.
Prerequisites
Before reading these instructions be sure that the following prerequisites are met:
An etherFAX account.
An etherFAX portal user.
The Global Administrator, or
one with the Edit Customer role.
A route.
Instructions
How to set a default route for your etherFAX account
Sign into the etherFAX Client portal at https://clients.connect.etherfax.net.
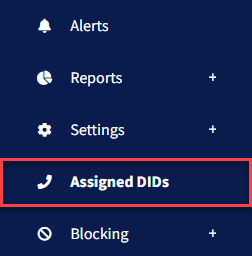
On the left-hand side select Assigned DIDs:
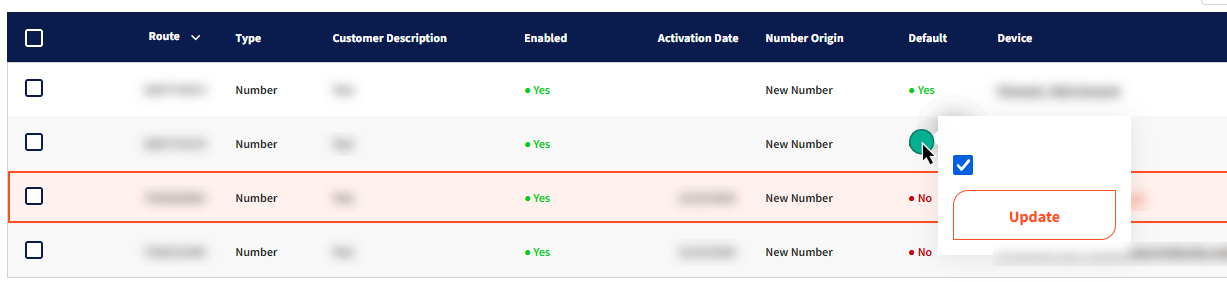
In the Default column of the desired number—click so that a pop-up appears. In the pop-up, click the checkbox and then click Update:
You have now successfully set the default route on the account.
Ending Notes and Details
etherFAX will place a Caller ID on your behalf when your outbound submission does not include a Caller ID and when a default route is not set on the account.